Connect To Your Cloud Account (AWS)
You must connect your cloud account to the platform to take advantage of Cloud Crocodile. Following is the procedure to go through the steps to connect your AWS account.
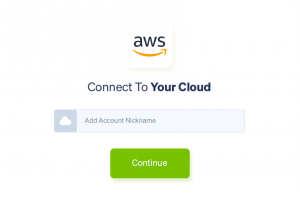
1. To connect Cloud Crocodile to your AWS cloud account, add the account nickname first and press the “Continue” button.

Connect your cloud account to the platform to take advantage of Cloud Crocodile. Follow the procedure and follow the steps to connect to your AWS account.
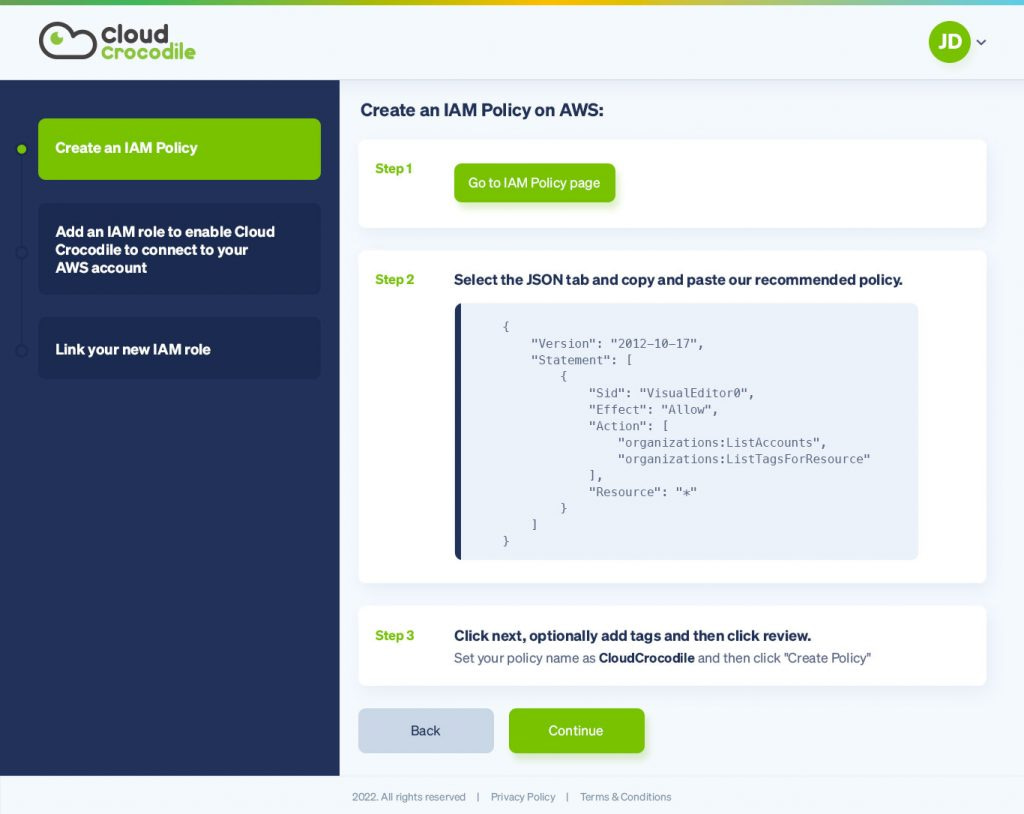
2. Create an IAM policy on AWS to connect to your cloud account. The first step is to select the “Go to IAM Policy Page” and then select the JSON tab, where the user must copy and paste the recommended policy, as shown in the figure. Under step 3, set your policy name by naming it “CloudCrocodile” and then create the policy.

Click the “Continue” button for the next step; “Add an IAM role to enable Cloud Crocodile to connect to your AWS account.”
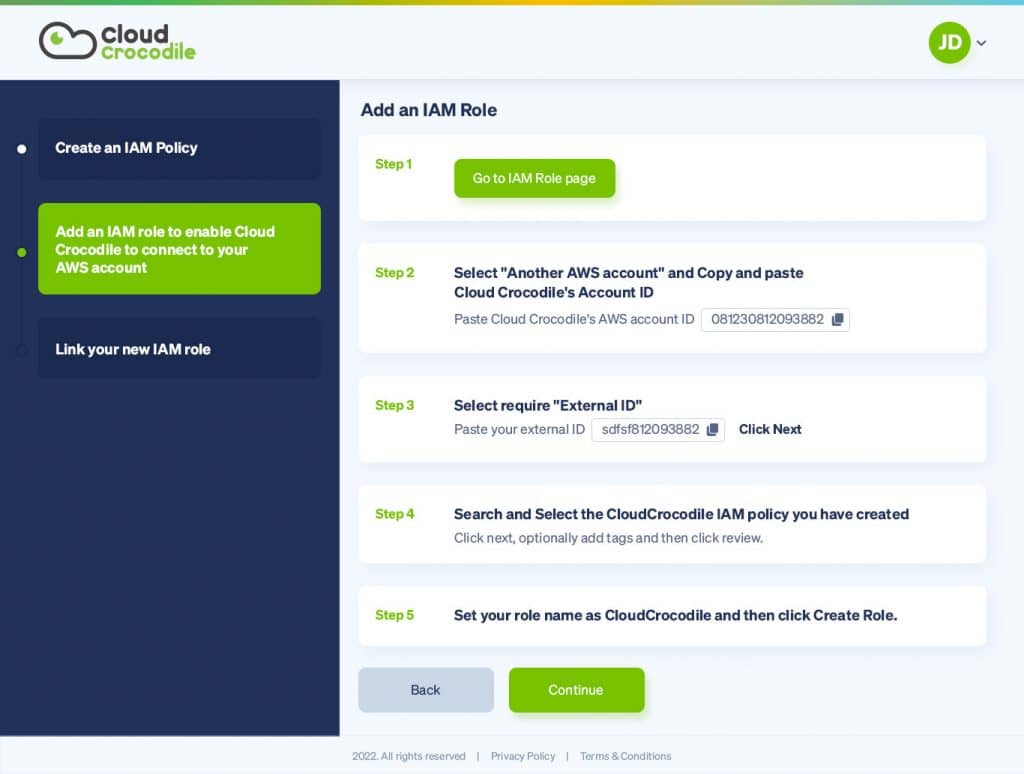
3. Go to the IAM Role page, select “Another AWS account,”; copy and paste Cloud Crocodile’s account ID.
Se lect the external ID and paste it into the tab. The next step is to search and select the Cloud Crocodile IAM policy generated initially, click next, and then click review.
Set your role name as “CloudCrocodile” and then click Create Role.

Click “Continue” after following all the steps.
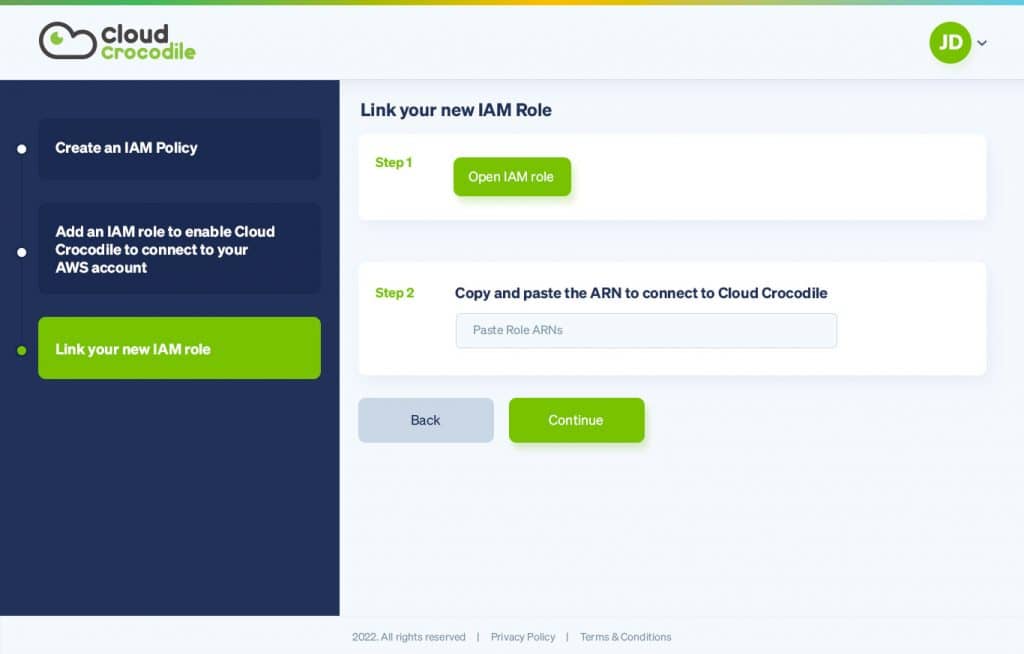
4. To connect your cloud account is to link your new IAM role to your Cloud Crocodile. Open the IAM role, copy and paste the role’s ARN, and then click continue.

Click the continue tab to hop on to the next screen, where your data will be synchronized with Cloud Crocodile.
You can also drop a message or watch our guide to understand the process better.
